Enabling/Disabling a user with API calls examples in Python
Enabling and disabling users is more complicated due to the authorization grant flow. Using client credentials allows generating authorization tokens in the code easily, however these tokens do not allow making certain calls, such as enabling/disabling a user.
To make API calls to enable/disable a user, follow the steps below.
Disabling a user
Go to OpenIAM webconsole > Access Control > Authentication Providers.
Create another oAuth2 client with the same settings as the one created before, but make sure to change the Provider Name and JWT Issuer to different names as to not conflict with the other configuration. Additionally, change Authorization Grant Flow to Implicit. This allows making API calls to enable/disable a user.
Make note of your new
clientidthat has been generated.Make the program below to use the implicit authorization grant to disable a user. Be sure to set both URLs, the
client_id, scope, anduseridto suit your needs.
import requestsfrom urllib.parse import urlencode, urlparse# Authorization Endpoint URLauthorization_base_url = 'http://your-openiam-instance/idp/oauth2/authorize'# Client credentials and other parametersclient_id = 'yourclientid'redirect_uri = 'http://localhost:5000/callback'scope = 'content-provider-name - /webconsole/rest/api/* user_name'# Construct the authorization URLparams = {'client_id': client_id,'response_type': 'token', # Implicit grant'redirect_uri': redirect_uri,'scope': scope}authorization_url = authorization_base_url + '?' + urlencode(params)# Redirect the user (manually open this URL in a browser)print("Open this URL in a browser and grant access:\n", authorization_url)# After user grants access, extract access token from redirect URLredirect_response_url = input("Paste the full redirect URL after granting access:\n")parsed_url = urlparse(redirect_response_url)fragment = parsed_url.fragmenttoken_params = dict(kv.split('=') for kv in fragment.split('&'))# Extract the access tokenaccess_token = token_params['access_token']# Example API request using the obtained access tokenapi_url = 'http://your-openiam-instance/webconsole/rest/api/prov/disableUser'headers = {'Authorization': f'Bearer {access_token}'}payload = {'userId': 'userid-to-be-disabled,'skipProvisioningManagedSystemSet': None}# Make the API requestresponse = requests.post(api_url, headers=headers, json=payload)# Handle the responseif response.status_code == 200:print("User disabled successfully.")else:print(f"Failed to disable user. Status code: {response.status_code}")print(response.text)
After running the program, you should get the following response.
PS C:\Users\maxim\OneDrive\Desktop\openiam\restapi> python implicitfetchdisable.py
- Open the following URL in a browser and grant access.
- Paste the full redirect URL after granting access.
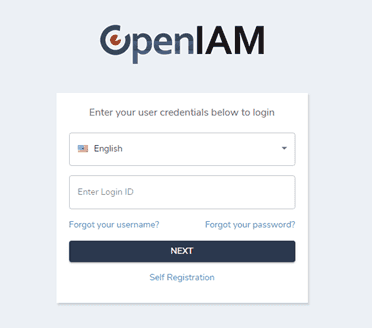
- Click the link in your terminal. You will be directed to a sign in page. Sign in to OpenIAM using your Login ID and Password. If having difficulties, try clearing your browser cookies.
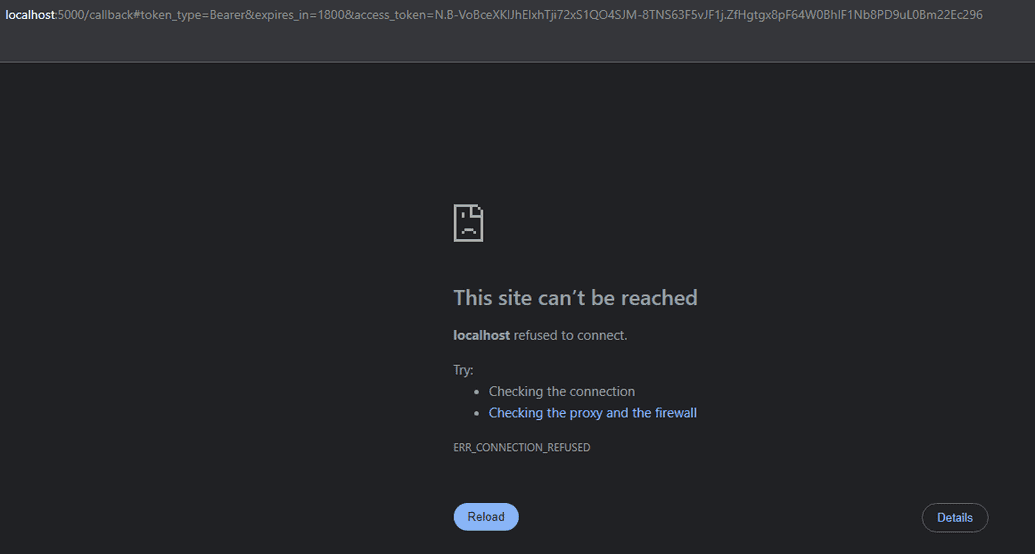
- After signing in, you will lose connection to the site. Copy the URL in the browser and paste it into the terminal.
- Once you paste it, the terminal should print User disabled successfully and the user will be disabled, as shown below.
PS C:\Users\maxim\OneDrive\Desktop\openiam\restapi> python implicitfetchdisable.py# Open this URL in a browser and grant access:http://192.168.86.28:8080/idp/oauth2/authorize?client_id=5057842EAAE04664BF632164FFC7ABC6&response_type=token&redirect_uri=http%3A%2F%2Flocalhost%3A5000%2Fcallback&scope=max3+-+%2Fwebconsole%2Frest%2Fapi%2F%2A+user_name# Paste the full redirect URL after granting access:http://localhost:5000/callback#token_type=Bearer&expires_in=1800&access_token=N.B-VoBceXKIJhEIxhTji72xS1QO4SJM-8TNS63F5vJF1j.ZfHgtgx8pF64W0BhIF1Nb8PD9uL0Bm22Ec296User disabled successfully.
Enabling a user
The same can be done with enabling a user. Be sure to specify both URLs, the client_id, scope, and userid. The program looks as follows.
import requestsfrom urllib.parse import urlencode, urlparse# Authorization Endpoint URLauthorization_base_url = 'http://your-openiam-instance/idp/oauth2/authorize'# Client credentials and other parametersclient_id = 'yourclientid'redirect_uri = 'http://localhost:5000/callback'scope = 'content-provider-name - /webconsole/rest/api/* user_name'# Construct the authorization URLparams = {'client_id': client_id,'response_type': 'token', # Implicit grant'redirect_uri': redirect_uri,'scope': scope}authorization_url = authorization_base_url + '?' + urlencode(params)# Redirect the user (manually open this URL in a browser)print("Open this URL in a browser and grant access:\n", authorization_url)# After user grants access, extract access token from redirect URLredirect_response_url = input("Paste the full redirect URL after granting access:\n")parsed_url = urlparse(redirect_response_url)fragment = parsed_url.fragmenttoken_params = dict(kv.split('=') for kv in fragment.split('&'))# Extract the access tokenaccess_token = token_params['access_token']# Example API request using the obtained access tokenapi_url = 'http://your-openiam-instance/webconsole/rest/api/prov/enableUser'headers = {'Authorization': f'Bearer {access_token}'}payload = {'userId': user-id-to-be-enabled}# Make the API requestresponse = requests.post(api_url, headers=headers, json=payload)# Handle the responseif response.status_code == 200:print("User activated successfully.")else:print(f"Failed to activate user. Status code: {response.status_code}")print(response.text)h

