Creating more custom user edit pages
You can enhance the user experience by integrating a new menu item into the SelfService portal and linking it to a dedicated page template. This document provides a step-by-step guide on how to do that.
To create more custom edit pages
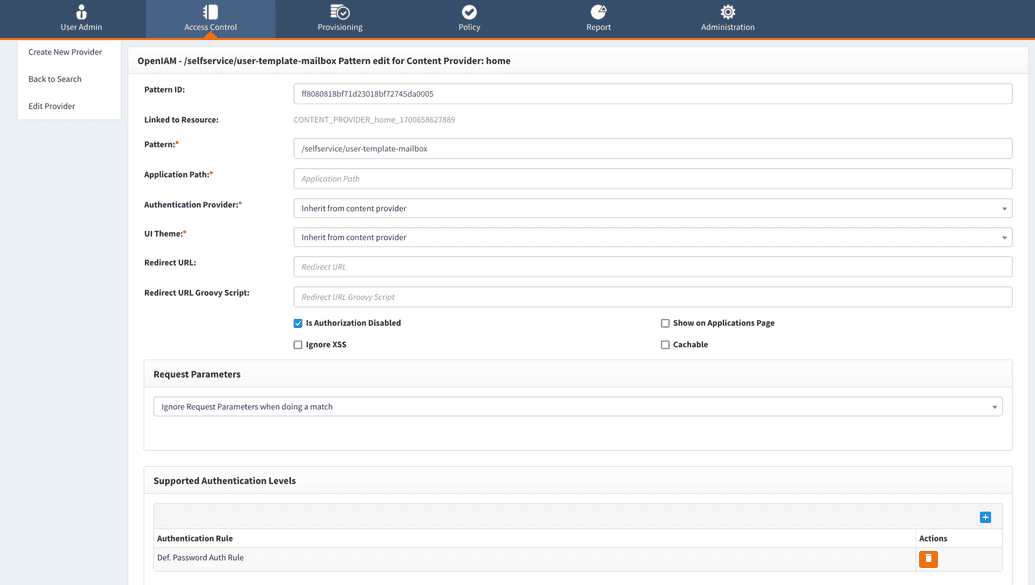
- Define the URL pattern. Choose a keyword that will distinguish your custom template and create a URL pattern. For example, if your template is for modifying mailbox settings, a possible URL pattern could be user-template-mailbox. This pattern will be used to access the new page. The URL must always follow the pattern "user-template-keyword" where the keyword should be set by you.
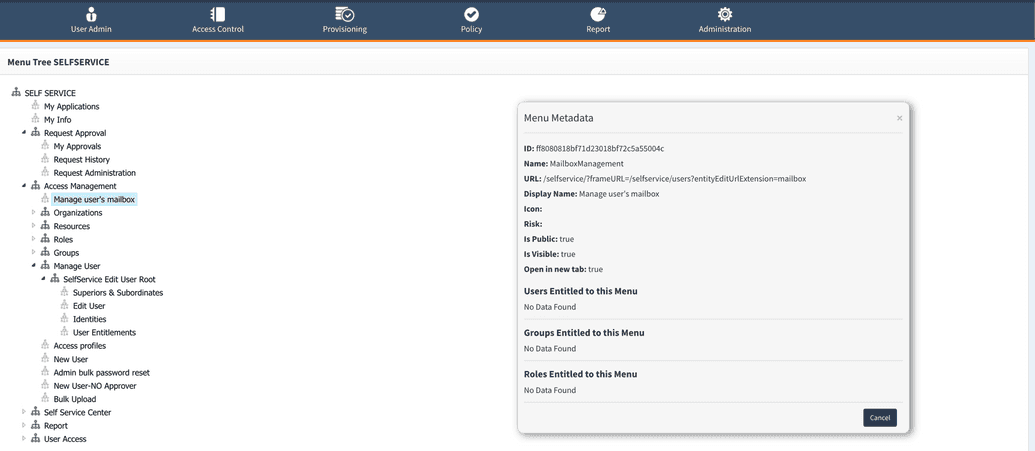
Add a new menu item. Navigate to the menus in the webconsole > Access control > Menus > SelfService. Right-click on the parent menu where you want to add the new item. Select Add New Child Node and give the menu a display name. Use the URL pattern created in step 1 as the URL for this menu item. In this case URL for 'mailbox' keyword will be:
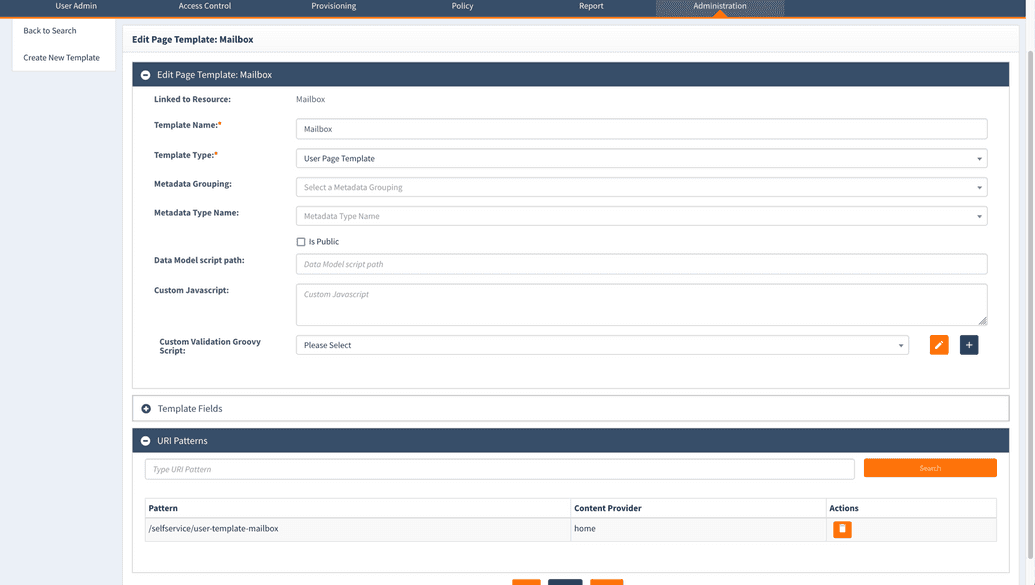
/selfservice/?frameURL=/selfservice/users?entityEditUrlExtension=mailboxCreate a new page template. Create a new page template of the "user" type. Add the necessary files and content to the template. Link this page template to the URL pattern created in step 1. Ensure that the template includes all the functions and customization features needed for users to modify mailbox settings.
Share the menu with specific users (optional) If you need to restrict access to the new menu to specific users, follow the standard authorization process. Associate the menu with a specific role and entitle users with the same role to access the menu. This ensures that only authorized users can view and interact with the custom template.
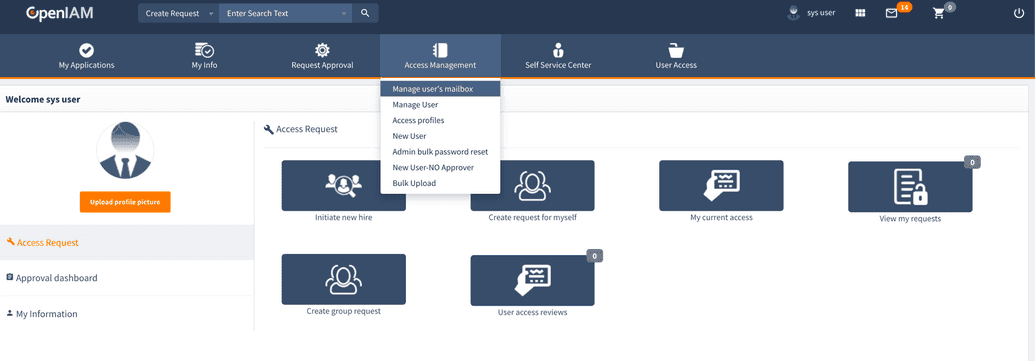
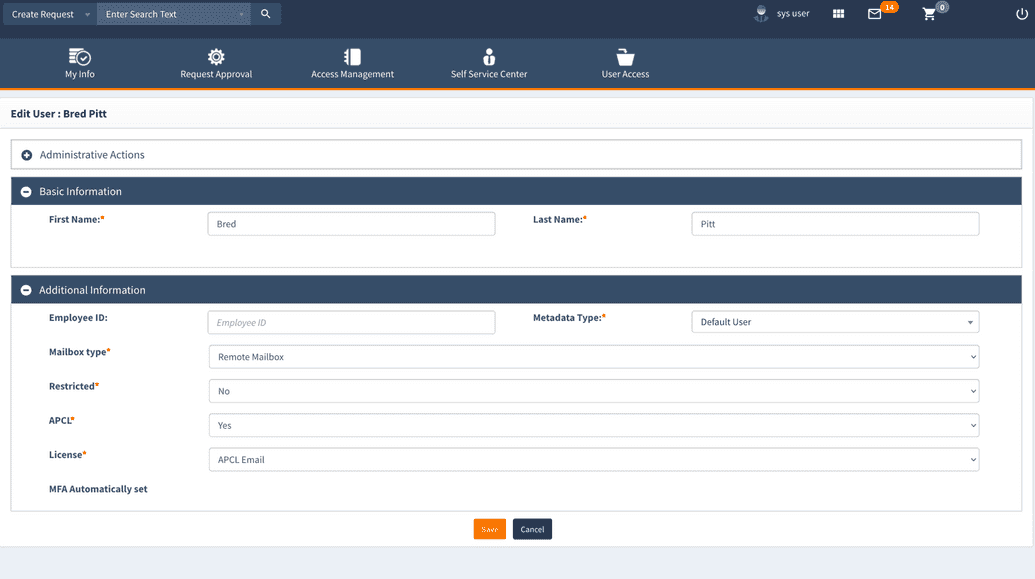
By following these steps, you can seamlessly integrate a custom user page template into the SelfService portal, providing users with a streamlined and personalized experience for modifying mailbox settings or other relevant actions.
