Mailbox configuration via Azure application
It is possible to configure an application on the Azure portal and include necessary permissions to send emails via, upon convenience. To do it, you will need to configure the Azure side of it, as well as configure mailbox in OpenIAM. The steps are given below.
Microsoft Azure portal configuration
- Go to Azure portal - https://portal.azure.com/.
- Sign in.
- Click on App Registration.
- Click New Registration and register a new application
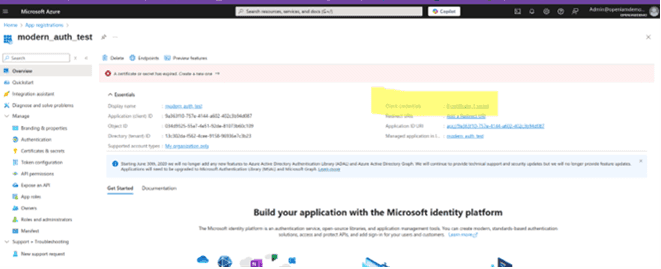
After registering, you will be able to see a screen with your application details.
Create a Client Secret
After registration you will need to create a client secret to insert into OpenIAM mailbox configuration further. To create a client secret, follow the steps below.
- Look for Client credentials: [0 certificate, 0 secret].
- Click on this field to create a client secret.
- You will see a screen to add a new client secret.

Assigning API permissions
To be able to use the app for sending email, you will need to give respective API permissions to the application. To do it, use instructions below.
- Click on API permissions.
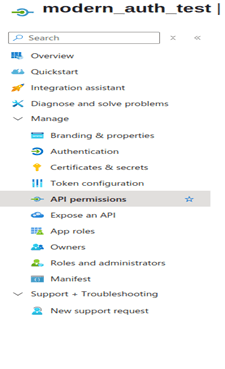
- In the screen opened click Add permissions.
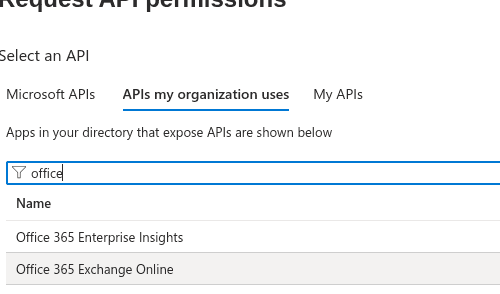
- Click Office 365 Exchange Online.
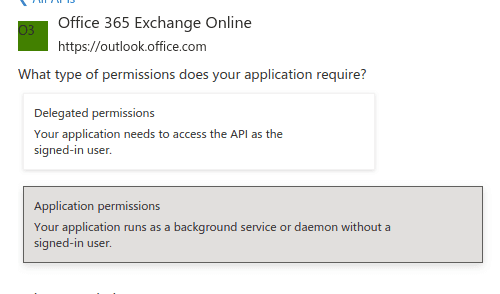
- Click Application permission.
- Assign the permissions by searching for IMAP, POP, and SMTP.
- Next, select Grant Admin Consent to authorize the granted permissions.

Alternative method: Creating a shared mailbox from Microsoft 365 Admin Center
As an option, you can create a shared mailbox directly on Microsoft 365 Admin Center portal. You can dot following the steps below.
- Go to the portal at https://admin.microsoft.com.
- In the left-hand menu, go to Teams & groups > Shared mailboxes.
- Click + sign to and Add a shared mailbox.
- In the page opened enter the following data.
- Name (e.g., Support Mailbox).
- Email address (e.g., support@yourdomain.com)
- Click Save.
- After the mailbox is created, click Edit to:
- Add members who will have access (these users will be able to read/send mail).
- Configure delegation settings if needed (Send As, Send on Behalf, etc.)
📝 Shared mailboxes do not require a license unless you enable auto-reply rules, add an archive, or increase mailbox size beyond 50 GB. You can also ask your Windows engineer/Azure cloud engineer to create the shared mailbox.
Installing Exchange Online in Windows
For you to be able to manage your mailbox permissions via PowerShell, you will need to install Exchange Online in your Windows system, using the instructions below.
- Run PowerShell as an administrator.
- Run the following command.
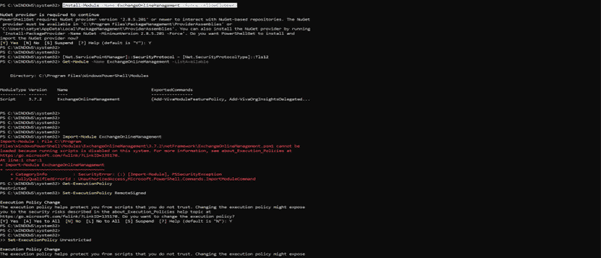
Install-Module -Name ExchangeOnlineManagement -Force –AllowClobber
If prompted about an untrusted repository, type Y and press Enter.
If you encounter any issues with the PowerShell Gallery, you might need to set the correct TLS version first, using the following command.
[Net.ServicePointManager]::SecurityProtocol = [Net.SecurityProtocolType]::Tls12Install-Module -Name ExchangeOnlineManagement -Force -AllowClobber
- Check if the installation was successful via the command below.
Get-Module -Name ExchangeOnlineManagement -ListAvailable
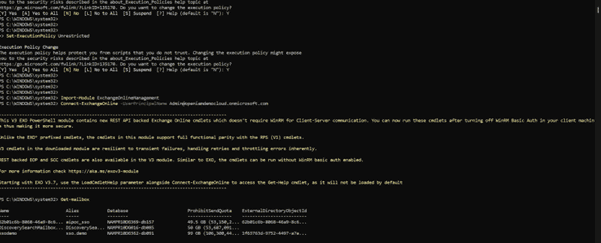
- Once successfully installed, run the command below to import the module and connect to it.
Import-Module ExchangeOnlineManagement
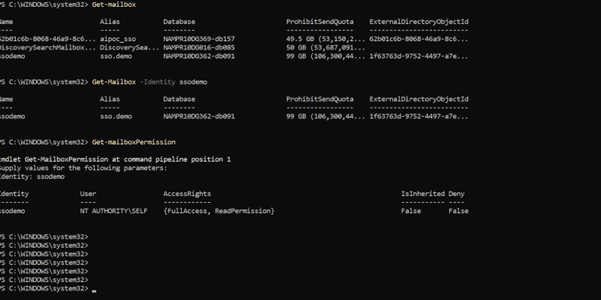
Several refence screenshots to see how it was installed on a windows machine are given below.
After installation on your windows laptop please assign permissions to the mailbox you have created as follows.
Add-MailboxPermission -Identity "john.smith@contoso.com" -User <SERVICE_PRINCIPAL_ID> -AccessRights FullAccess, ReadPermission
Identity is the mailbox user that you have created.
The SERVICE_PRINCIPAL_ID in the command refers to the object ID of the service principal that represents your Azure AD app registration in Exchange Online.
You can find it as follows.
- Go to Azure Portal > Azure Active Directory > Enterprise Applications.
- Search and open your application (e.g.,
modern_auth_test_enterprise). - In the Overview panel of the enterprise application, copy the value under Object ID. It is the Service Principal Object ID.
It is important to use the Enterprise Application’s Object ID (not the App Registration’s Application ID or Object ID) since that’s the correct value for <SERVICE_PRINCIPAL_ID> in the Add-MailboxPermission command.
Mailbox configuration on OpenIAM webconsole
Fill in all the details here in the OpenIAM Mailbox Configuration page in webconsole. For information you can refer to this document.
