Okta SSO
Okta SSO enables secure and seamless user authentication by centralizing identity management, reducing the need for multiple passwords, and enhancing security through standardized protocols such as SAML 2.0 and OpenID Connect (OIDC).
The following sections outline the configuration steps required to successfully connect OpenIAM to Okta SSO.
Configuring Okta SSO
Start by creating your Okta admin account.
Create a New Application:
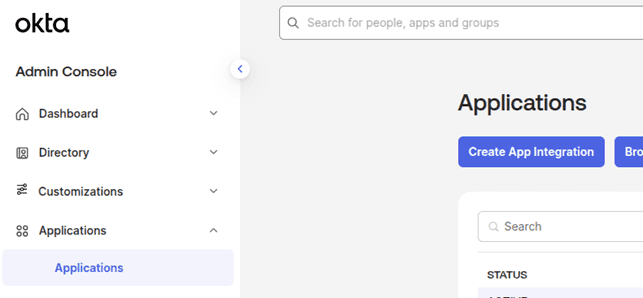
- From the left menu, go to Applications > Create App Integration.
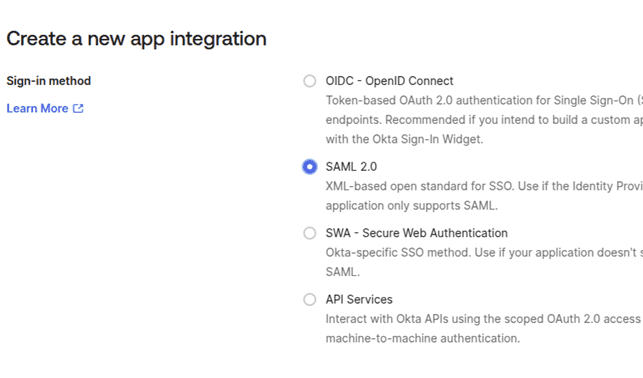
- In the dialog window:
- Under Sign-in method, choose SAML 2.0.
- Click Next.
Configuring SAML Application
In the application configuration window:
Start with general information by entering a name, for example, OpenIAM SSO and clicking Next.
You may also upload a logo, however, this step is optional.
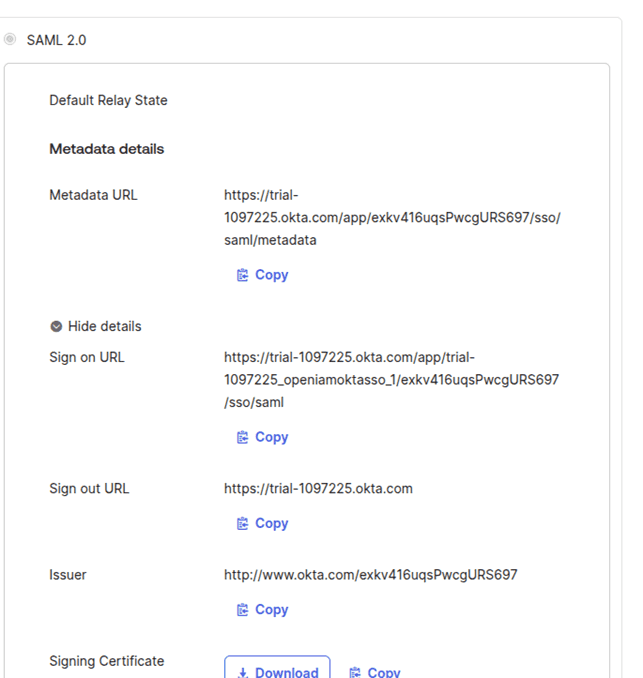
Configure SAML with the required details. OpenIAM details are to be found as indicated below.
- Single sign on URL (ACS URL) is
https://<openiam-server>/idp/saml2/sp/login?issuer=identifierOfApplication. You will need to replace<openiam-server>with your OpenIAM host. - Audience URI (SP Entity ID) is an identifier name. Click Next.
In the example above
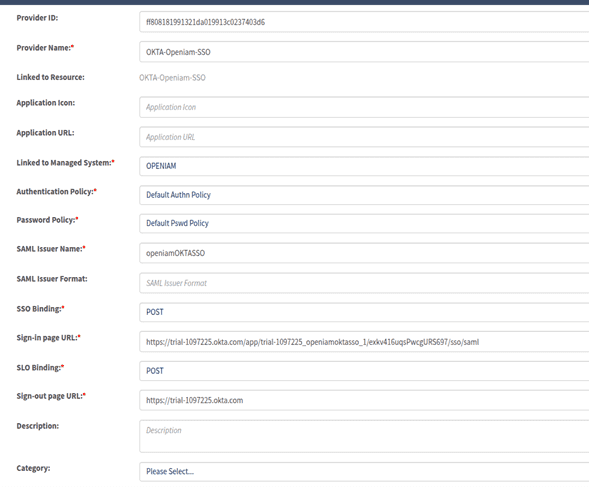
openiamOKTASSOis the identifier. You can get the sign out and sign in URL after saving the configuration.- Single sign on URL (ACS URL) is
Configuring OpenIAM
Log in to the webconsole and go to Access control > Authentication providers.
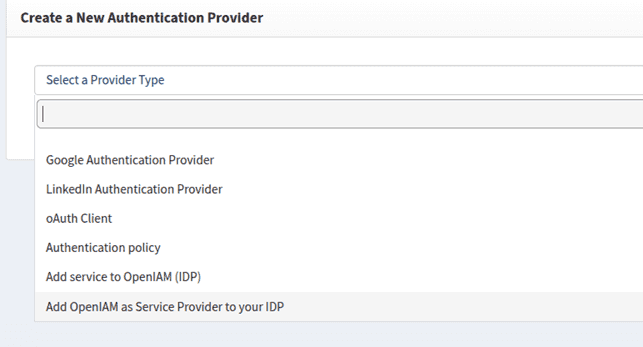
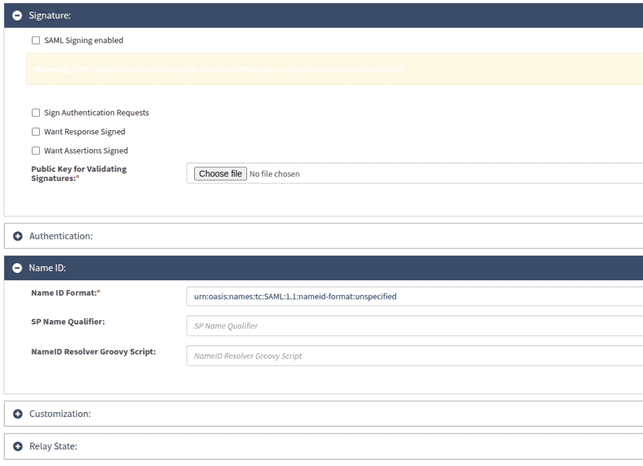
Click Create new provider and select Add OpenIAM as Service Provider to your IDP.Fill in authentication provider details:
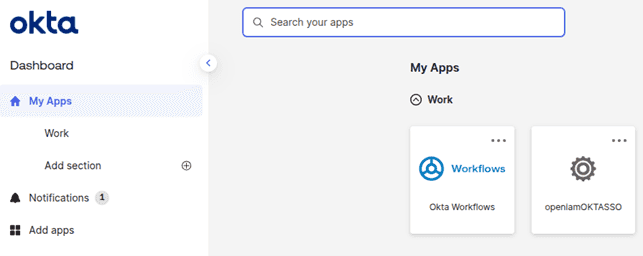
Click the sign-in link.
Go back to the SSO application in Okta. Attach the authentication provider to a content provider:
- Navigate to Access certification > Content Providers.
- Find your content provider and attach the authentication provider.
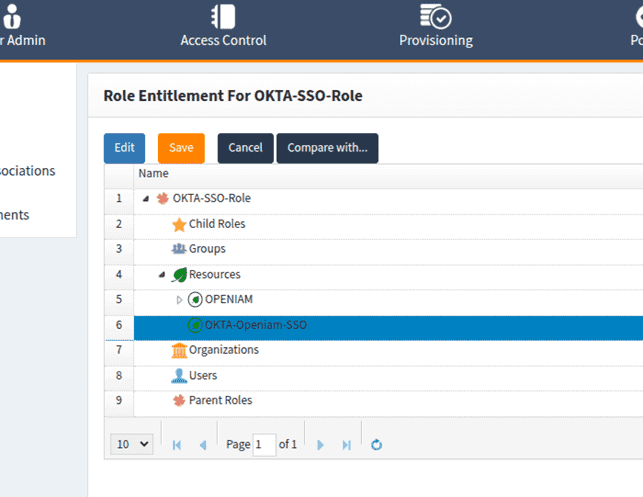
Create a role or group with this authentication provider, then map it to users.
✅ Your Okta SSO is now successfully configured.
