Consent management
A consent agreement is a legal contract that outlines the rules when someone agrees to join an activity. When a business offers an activity with potential risks, they ask participants to sign this agreement to safeguard themselves from legal responsibility.
OpenIAM allows you to present a consent document to the user following their first login, once they've been authenticated. The consent document is presented in the user's preferred language.
Here's how the process works:
- On the main login page, the user enters their username and password, and if configured, an OTP.
- OpenIAM verifies the credentials and checks whether the user has previously logged in for the first time and consented to the general consent document.
- If the user has already provided consent, and the consent document's date is older than the user's consent date, OpenIAM simply logs the user in.
- If the user is logging in for the first time or the consent date is older than the consent document's date, OpenIAM retrieves the general consent document in the language corresponding to the user interface and presents it to the user.
- If the user declines to provide consent, the process stops, and they won't be able to access the requested application.
- If the user consents to the document, OpenIAM marks the user as having successfully logged in and records the time and date of their consent in the user consent history.
Configuring consent in OpenIAM
To configure consent management follow the procedure below.
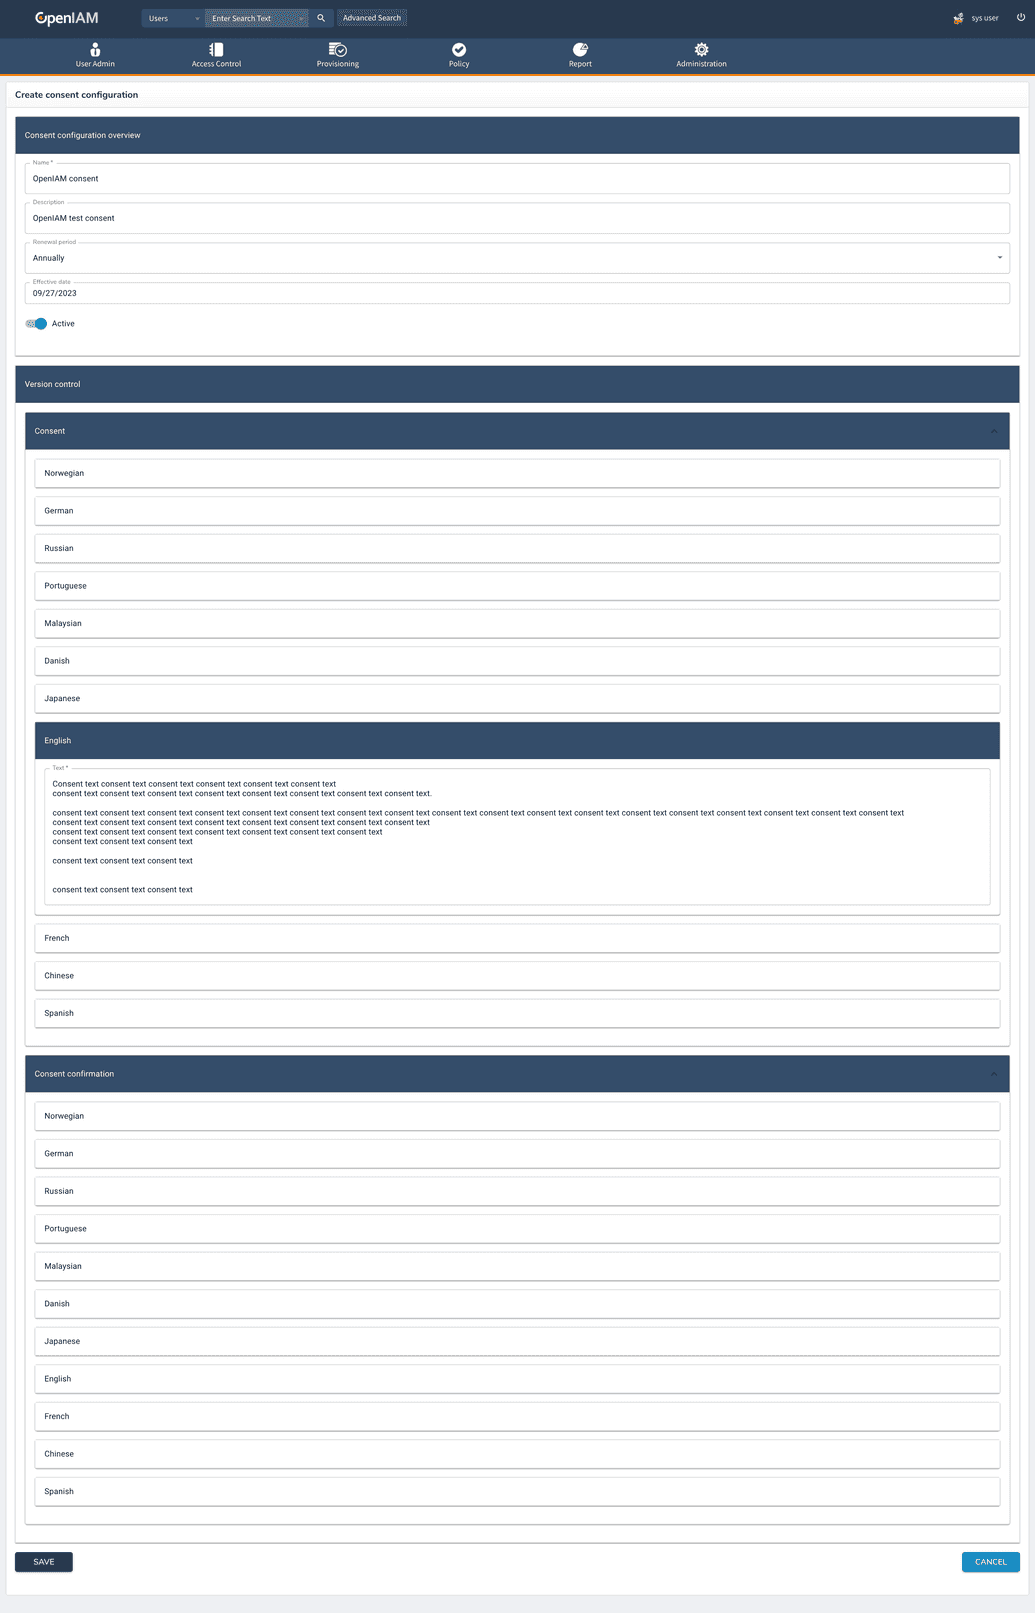
- Go to webconsole > Administration > Consent configuration.
- Create a new configuration or edit the existing one, as shown below.
Note that consent and consent confirmation text could be given in multiple languages.
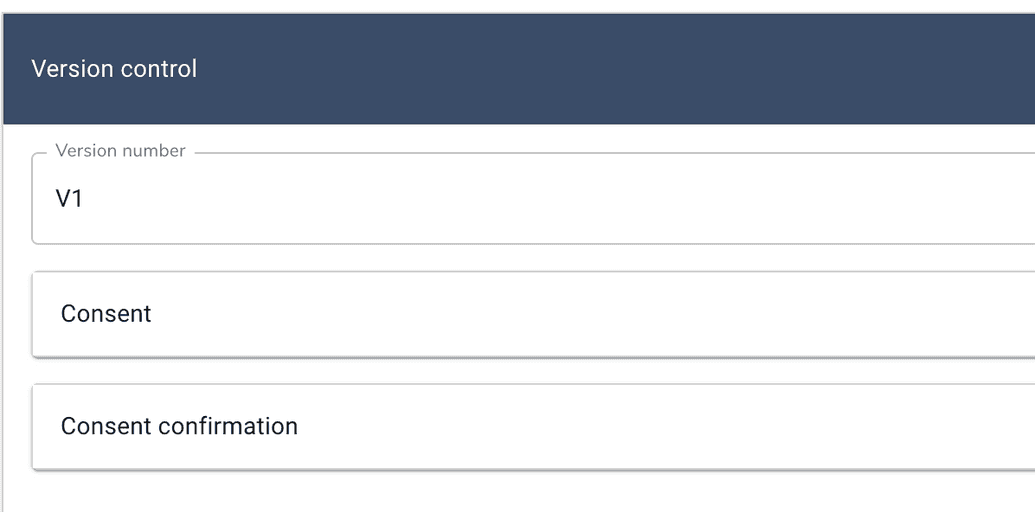
- You can also control the consent versions.
Once you create a new consent configuration it will become the first version of the consent.
If you want to update/change the consent configuration, there are two possible options to do that:
- you can update the current consent version with no effect on users. This option is usually preferred when there is a need to fix typos, make minor changes, etc.
- you can create a new version of consent. Here, users will have to review and accept the new version of the consent on the next login. This option is preferred for major changes in the document.
- Link the consent to the content provider (CP). You can link the same consent with multiple CPs, create separate consent for each CP or leave it blank in case you don't need any.
To link the consent to a CP
- Go to webconsole > Access Control > Content Providers find the CP you need and click Edit.
- Find a Consent configuration line and choose the concent version required.
User interaction
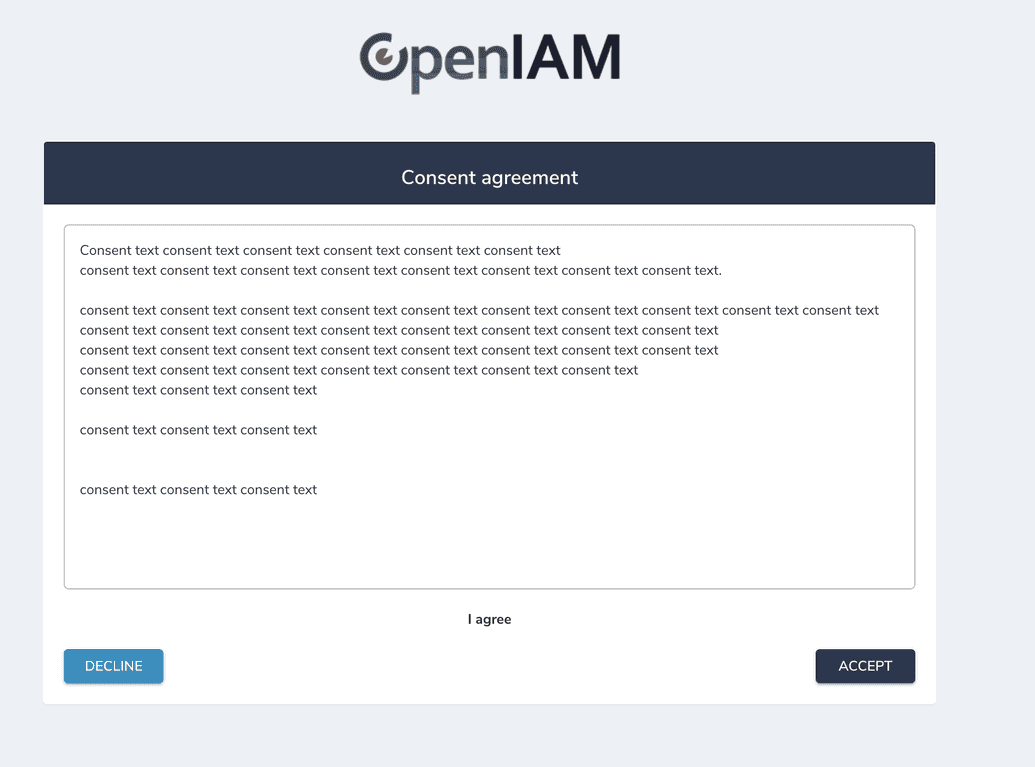
After you configured consent management and linked it to a CP or multiple CP, the user logs in for the first time and a consent agreement is to be provided upon successful login to OpenIAM as shown below.
Reviewing consent history
Users can view his consent history, i.e. when and for which CP they accepted or declined consent and also view the consent agreement and revoke it if needed via the Self Service Center. To do that
- Go to SelfService > Self Service Center > Consent history. You will see the versions of consents and the actions to it as shown below.
The same option is available for admins from webconsole, where admins can view users consent history and revoke if needed. To access consent history as an admin
- Go to webconsole > User Admin > Search for the user > choose Consent history on the left menu.


