Creating a new department or division
Every organization in OpenIAM has its own organizational hierarchy, for example Organization > Division > Department or University > Campus > Faculty, or any other depending of a business need. The default organizational hierarchy in OpenIAM is built around a three-tier structure. However, users can create their own hierarchy among their pre-created organization types with more than three tiers and manage and customize them using organization tab in Administration menu.
Before managing the organizational hierarchy, one needs to create it. It can be done using the steps below.
Creating a new organization
- Create new organization first. Log in to webconsole and go to Access Management > Organization.
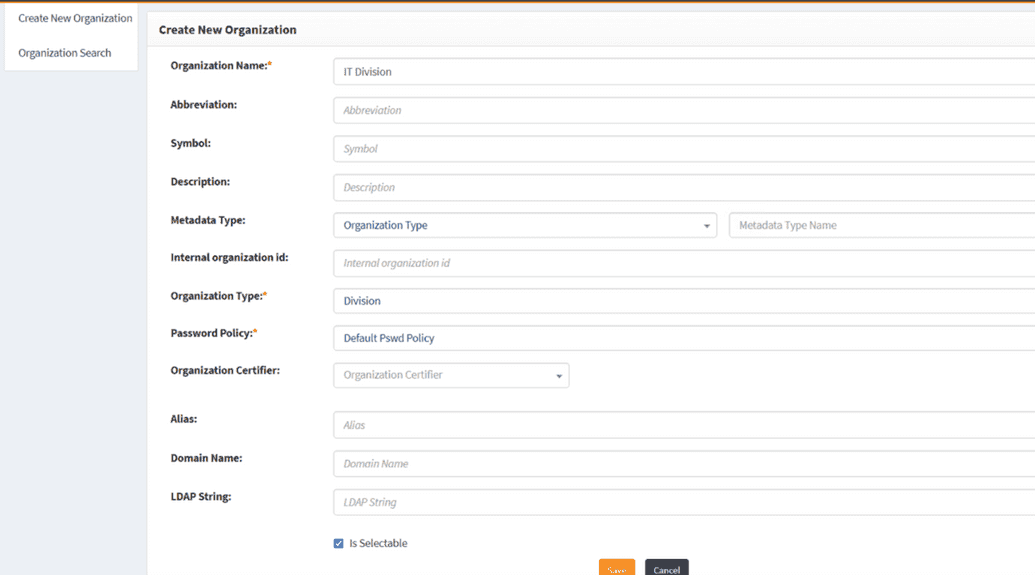
- Click Create New Organization and the below window will open.
- Fill up the form with required information and then click Save.
- Proceed by creating a new department. Again, go to Access Management > Organization and create a new organization by filling in the form with required information and clicking Save, as in steps 1 and 2.
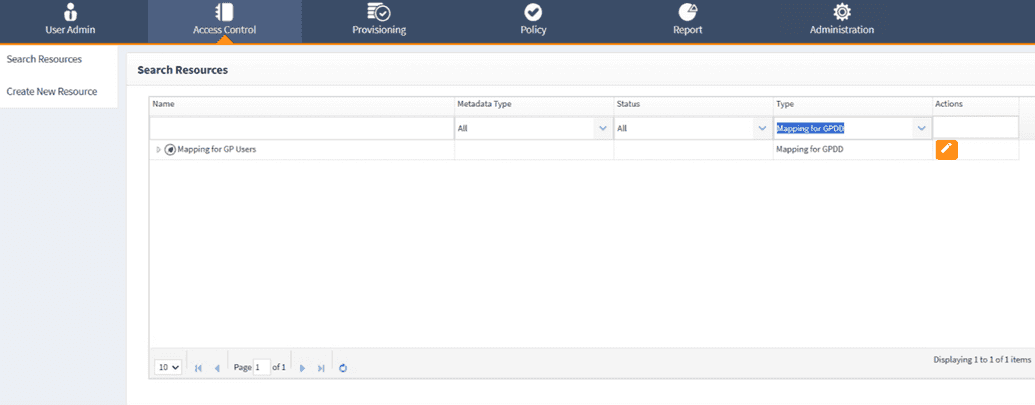
- Define the mapping for validation. Go to Access Control > Resource.
- Filter by Type - Mapping for GPDD and edit the Mapping for GP Users.
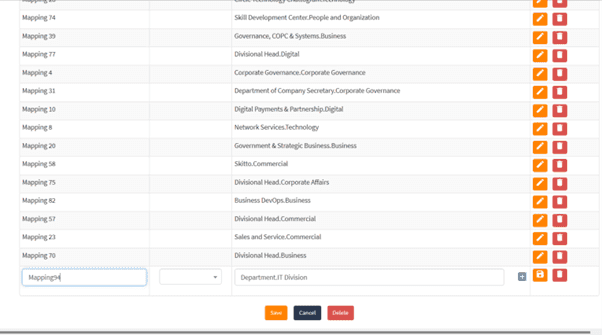
- Define the mapping using Department.Division combination and click Save.
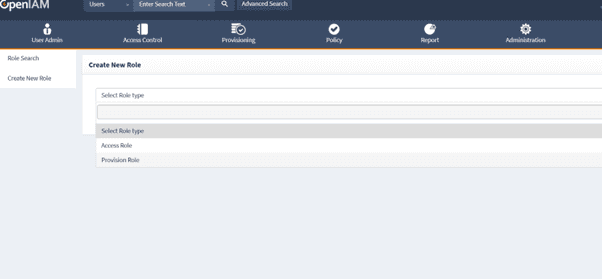
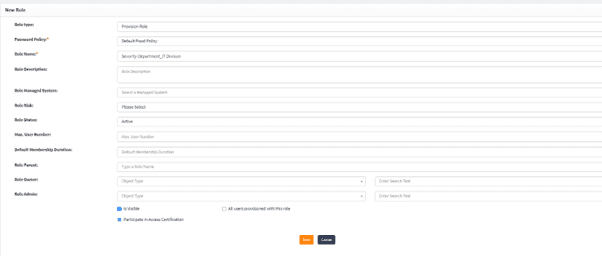
- Add the birthright access to division department by going to Access Control > Role. Create a new role to newly created department or division. Select Role type as Provision Role.
Role name should follow the Department_Division convention. Enter the required fields as shown below and click Save.
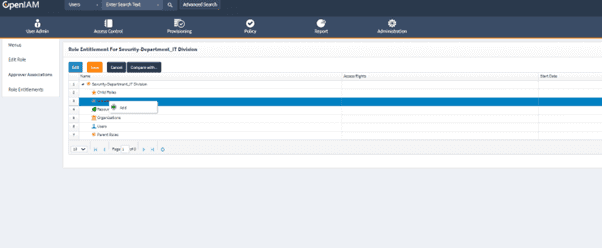
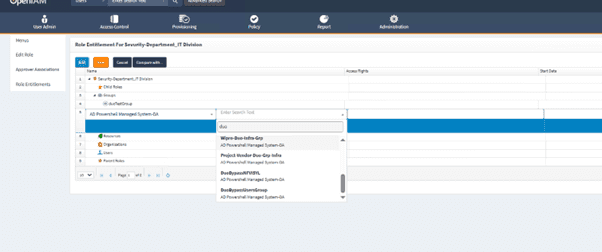
- Click on Role Entitlements, right click on Groups and add birthright access/groups by defining the groups for DA-AD and legacy AD.
Adding a new vendor
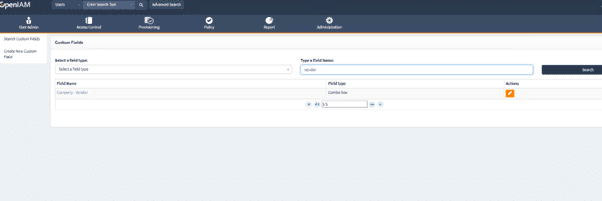
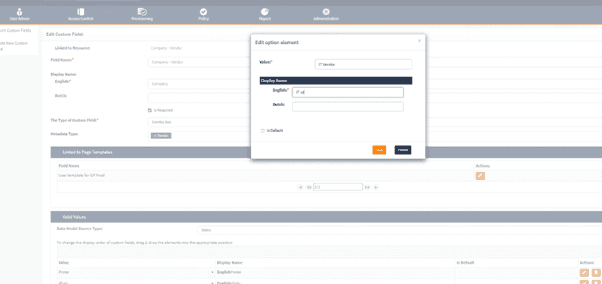
- Navigate to Administration > Custom Fields. Search for Vendor-DA and click on Edit.
Click on + icon and add a new vendor in the Name and English fields. Click Save.
Click Save again.
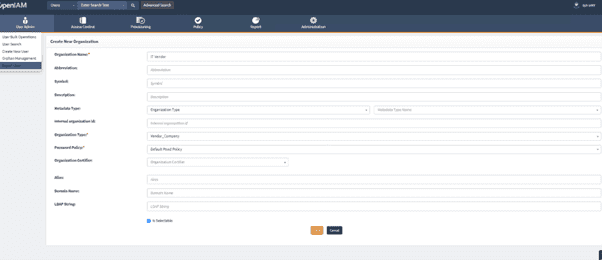
- Define the birthright access for the new vendor by navigating to Access Control > Organization. Click on Create New Organization. Enter the data in Required fields with Organization type as Vendor_Company.
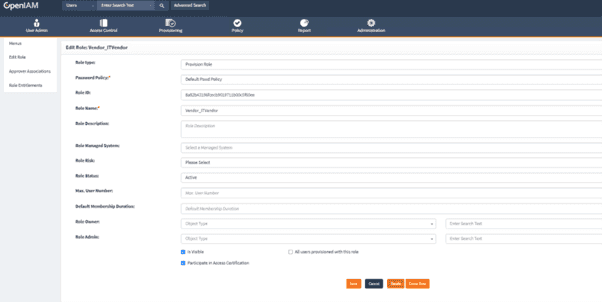
- Afterwards, navigate to Access Control > Role. Create a new Role with
format- Vendor_Vendorcompanynameand enter the required fields as shown below.
Click Save.
- Click on Role Entitlements, right click on Groups and add birthright access/groups by defining the groups for DA-AD and legacy AD.
Adding a new non-managed application
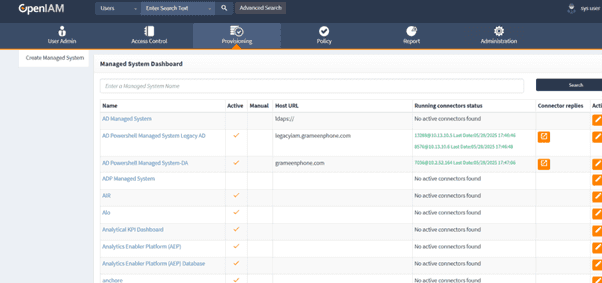
- Navigate to Provisioning > Managed System. Click on Create Managed System and define the Connector as “Remote_Connector_500” and define the name for the managed system.
- Select Category as Business Apps and click Save.
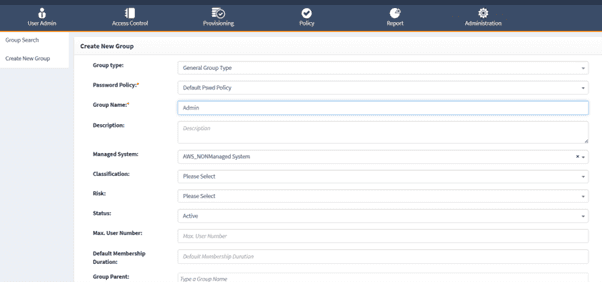
- Define entitlements for newly created managed system by navigating to Access Control > Groups and clicking Create New Group. Select Group Type as General Group. Define the password policy and group name. Select the managed system from dropdown and click Save.
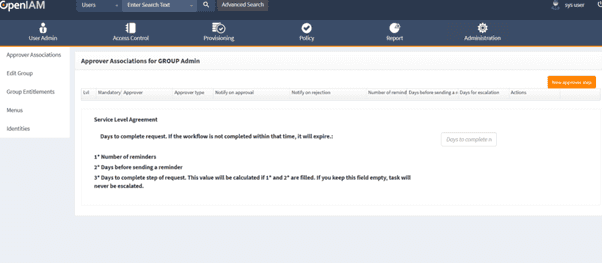
- Next, click on Approver Association. Using the Approver step, define the Approver Association.
Adding or changing a new approver for any non-managed system
- Go to Access Control > Group. Filter by Managed system
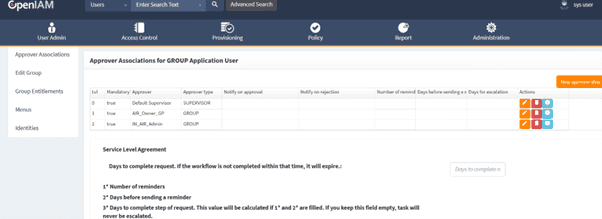
- Edit any group and click on Approver Association. Click on New Approver Step to add a new Approver or edit an existing Approver.
For more details on Approver workflow, refer to this document.
Troubleshooting an issue
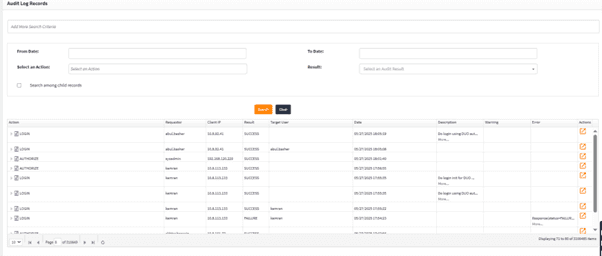
Troubleshooting is usually performed via Log Viewer. It cab be accessed at Administration > Log Viewer.
Click on search to list all the logs and check for any error logs. Click on the Action icon against the log to check for any error.
Troubleshooting an issue related to a user
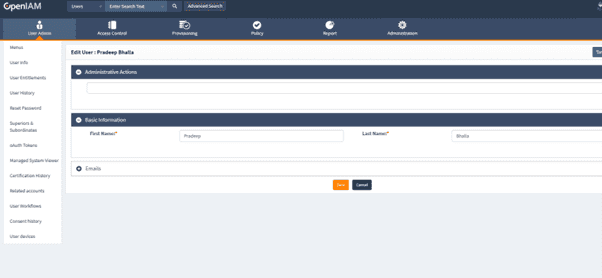
Search for an user first navigating to User admin > User search. Search for user using AD_ID and Click Edit and then on User History.
Check the logs to analyze any issue.
Troubleshooting services
First, login to .ssh. Check the services status using the following command.
sudo openiam-cli status
Check the individual service status or start stop service.
You can also check the individual service logs by navigating to cd /usr/local/openiam/logs/.
For more information on troubleshooting refer to this document.
