OpenIAM oAuth scopes
Scopes in OAuth 2.0 provide a way to limit the amount of access that is granted to an access token. You can select the scopes from a dropdown on the edit oAuth client page. Note that Scopes in OpenIAM are resources, and you can manage through the resource interface. To get more knowledge about auth scopes please follow specification in https://datatracker.ietf.org/doc/html/rfc6749#section-3.3.
Default Scopes
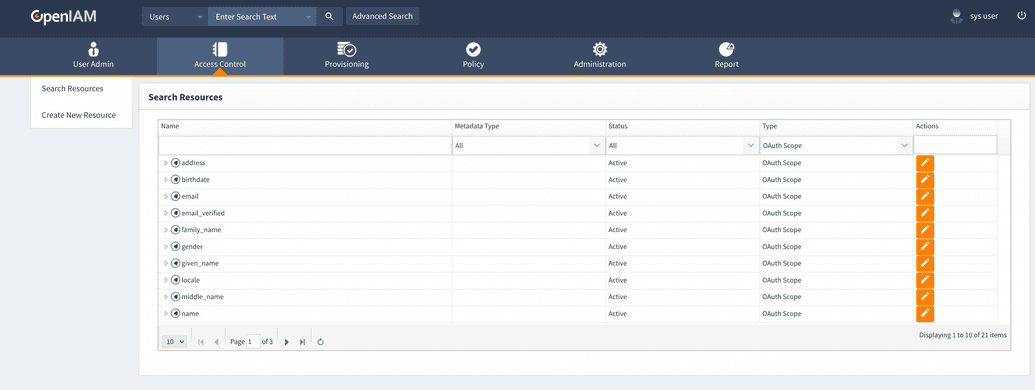
OpenIAM provides a set of 21 default scopes. You can find them in resource menu, filtered by type equals oAuth Scope.
Names of the scopes are self-explanatory. The list of default oAuth scopes are as follows:
- address;
- birthdate;
- email;
- email_verified;
- family_name;
- gender;
- given_name;
- locale;
- middle_name;
- name;
- nickname;
- phone;
- phone_number_verified;
- phone_NUMERIC;
- picture;
- preferred_username;
- profile;
- updated_at;
- user_name;
- website;
- zoneinfo.
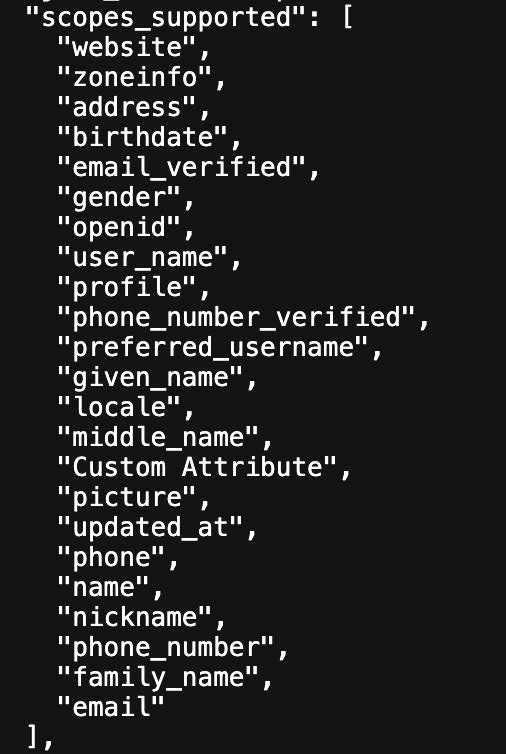
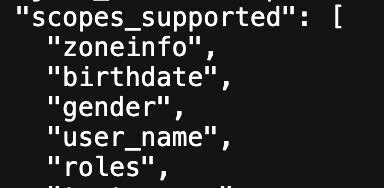
In order to get supported scopes by your authentication provider you can use OpenID Connect Discovery URL from your authentication provider configurations (aka well-known URI). You can find it when going to webconsole > Access Control > Authentication Providers > your OAuth provider (client) > OpenID Connect Discovery URL (Readonly) field.
Example
Custom Scopes
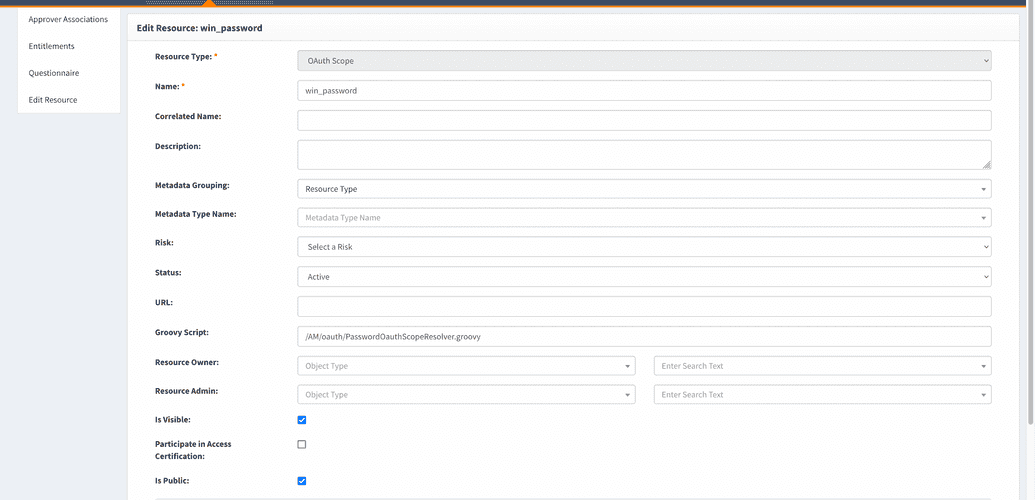
OpenIAM allows creating custom scopes. For this you should create new resource with type oAuth Scope and provide link to a groovy script in a Groovy Script field. Enable Is Public checkbox. This is a mandatory condition for a scope resource. Script must extend the AbstractOauthScopeResolver class and override getValuemethod.
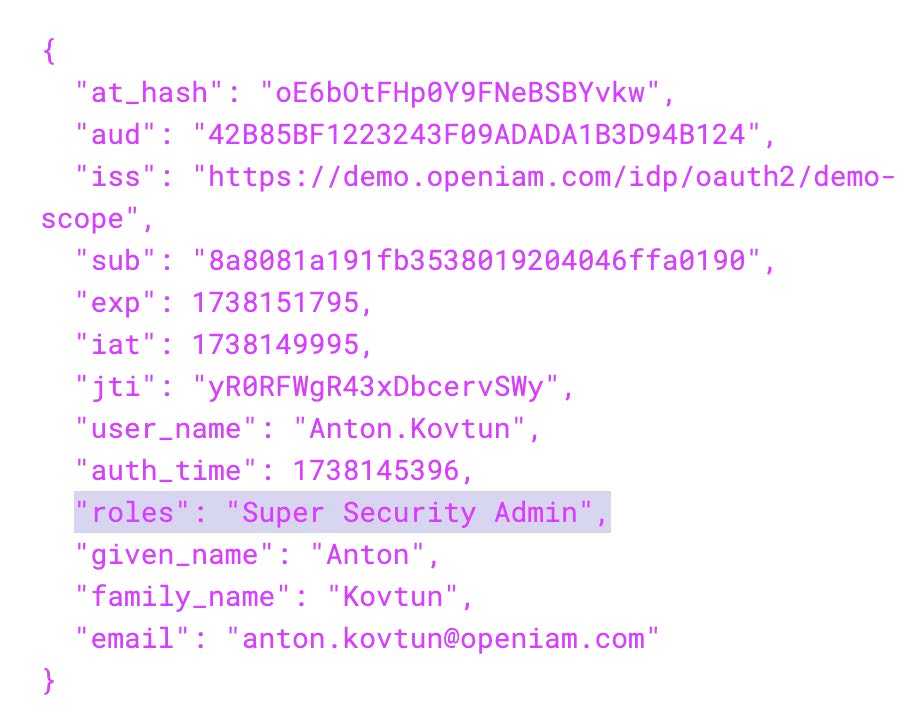
Output of the script will be sent as a value of the scope. Example of such scripts you can find in groovy manager in /AM/oauth/ folder.
To create a custom scope, follow the steps below.
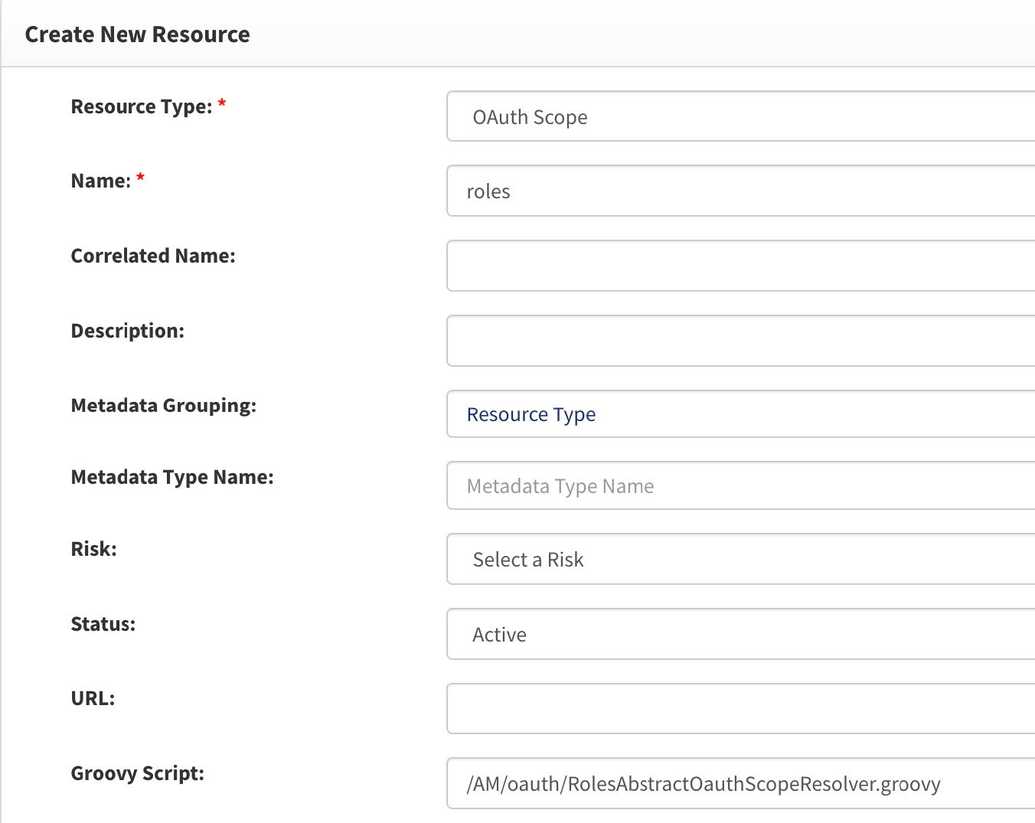
- Go to webconsole > Access control > resources and chose Create new resource in the left-hand menu.
- In the screen opened, choose the Resource type as OAuth scope, type in the name for it, mark status as Active.
Provide a URL with path to groovy script that will get and return value for the scope.
Now you can see the new scope in
scopes_supportedsection, as shown below.
Groovy scripts for scopes
We have two examples of groovy script for scopes.
/AM/oauth/RolesAbstractOauthScopeResolver.groovywill return user’s roles and right if any. It is given below.
import org.openiam.ui.security.oauth.groovy.AbstractOauthScopeResolver;import org.springframework.beans.factory.annotation.Autowired;import org.springframework.beans.factory.annotation.Qualifier;import java.util.Set;import java.util.stream.Collectors;import org.openiam.am.srvc.dto.jdbc.RoleAuthorizationRight;import org.openiam.srvc.am.AuthorizationManagerWebService;public class RolesAbstractOauthScopeResolver extends AbstractOauthScopeResolver {@Autowired@Qualifier("authorizationManagerServiceClient")private AuthorizationManagerWebService authorizationManager;public RolesAbstractOauthScopeResolver() {super();}@Overridepublic Object getValue() {final Set<RoleAuthorizationRight> set = authorizationManager.getRolesForUser(this.user.getId());final StringBuilder sb = new StringBuilder();if(set != null) {int idx = 0;for(final RoleAuthorizationRight right : set) {if(right != null && right.getEntity() != null) {sb.append(right.getEntity().getName());if(idx++ < set.size() - 1) {sb.append(",");}}}}return sb.toString();}}
/AM/oauth/CIFAbstractOauthScopeResolver.groovywill return value of user attribute. The script is provided below.
import org.openiam.ui.security.oauth.groovy.AbstractOauthScopeResolver;import org.springframework.beans.factory.annotation.Autowired;import org.springframework.beans.factory.annotation.Qualifier;import java.util.Set;import java.util.stream.Collectors;import org.openiam.idm.srvc.user.dto.UserAttribute;import org.apache.commons.collections4.CollectionUtils;public class CIFAbstractOauthScopeResolver extends AbstractOauthScopeResolver {public CIFAbstractOauthScopeResolver() {super();}@Overridepublic Object getValue() {final UserAttribute attribute = this.user.getAttribute("cif");return (attribute != null && CollectionUtils.isNotEmpty(attribute.getValues())) ?(attribute.getValues().size() > 1 ? attribute.getValues().toString() : attribute.getFirstValue()) : "";}}
You can also create your own groovy script to retrieve information you need. However, make sure that your groovy script must extend AbstractOauthScopeResolver class.
Adding new scopes to your authentication provider
Now you can add your custom scope.
- Go to webconsole > Access Control > Authentication providers > Find you oAuth provider and click Edit.
- Add the new scope to Default Scopes field.
Now you will get the new scope in your tokens.
